Introduction
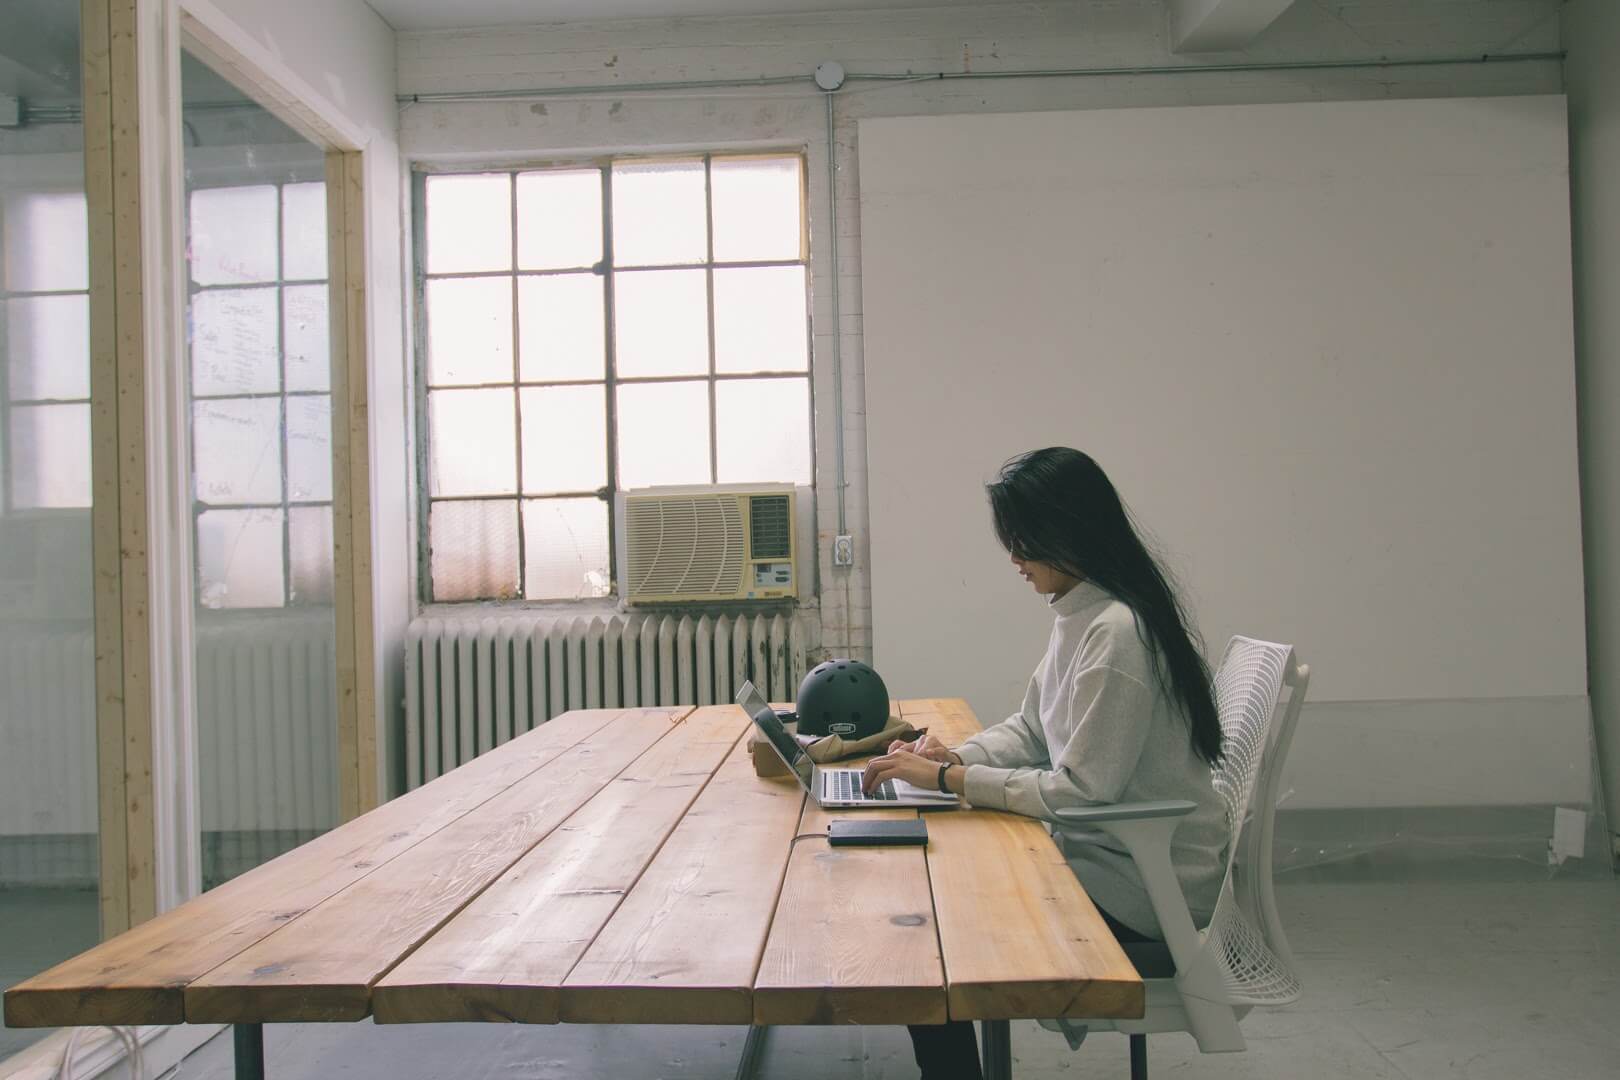
Filmmaking is an incredible way to tell your story. It’s a creative outlet that combines a variety of artforms into one world. This mini website is meant to run you through some of the basics of documentary and promotional filmmaking. Make sure to dig deeper if an aspect of filmmaking catches your attention by doing further research and experimenting with techniques by filming your own content. Use any camera available to you and have fun creating.
stages
Select a stage to scroll to.

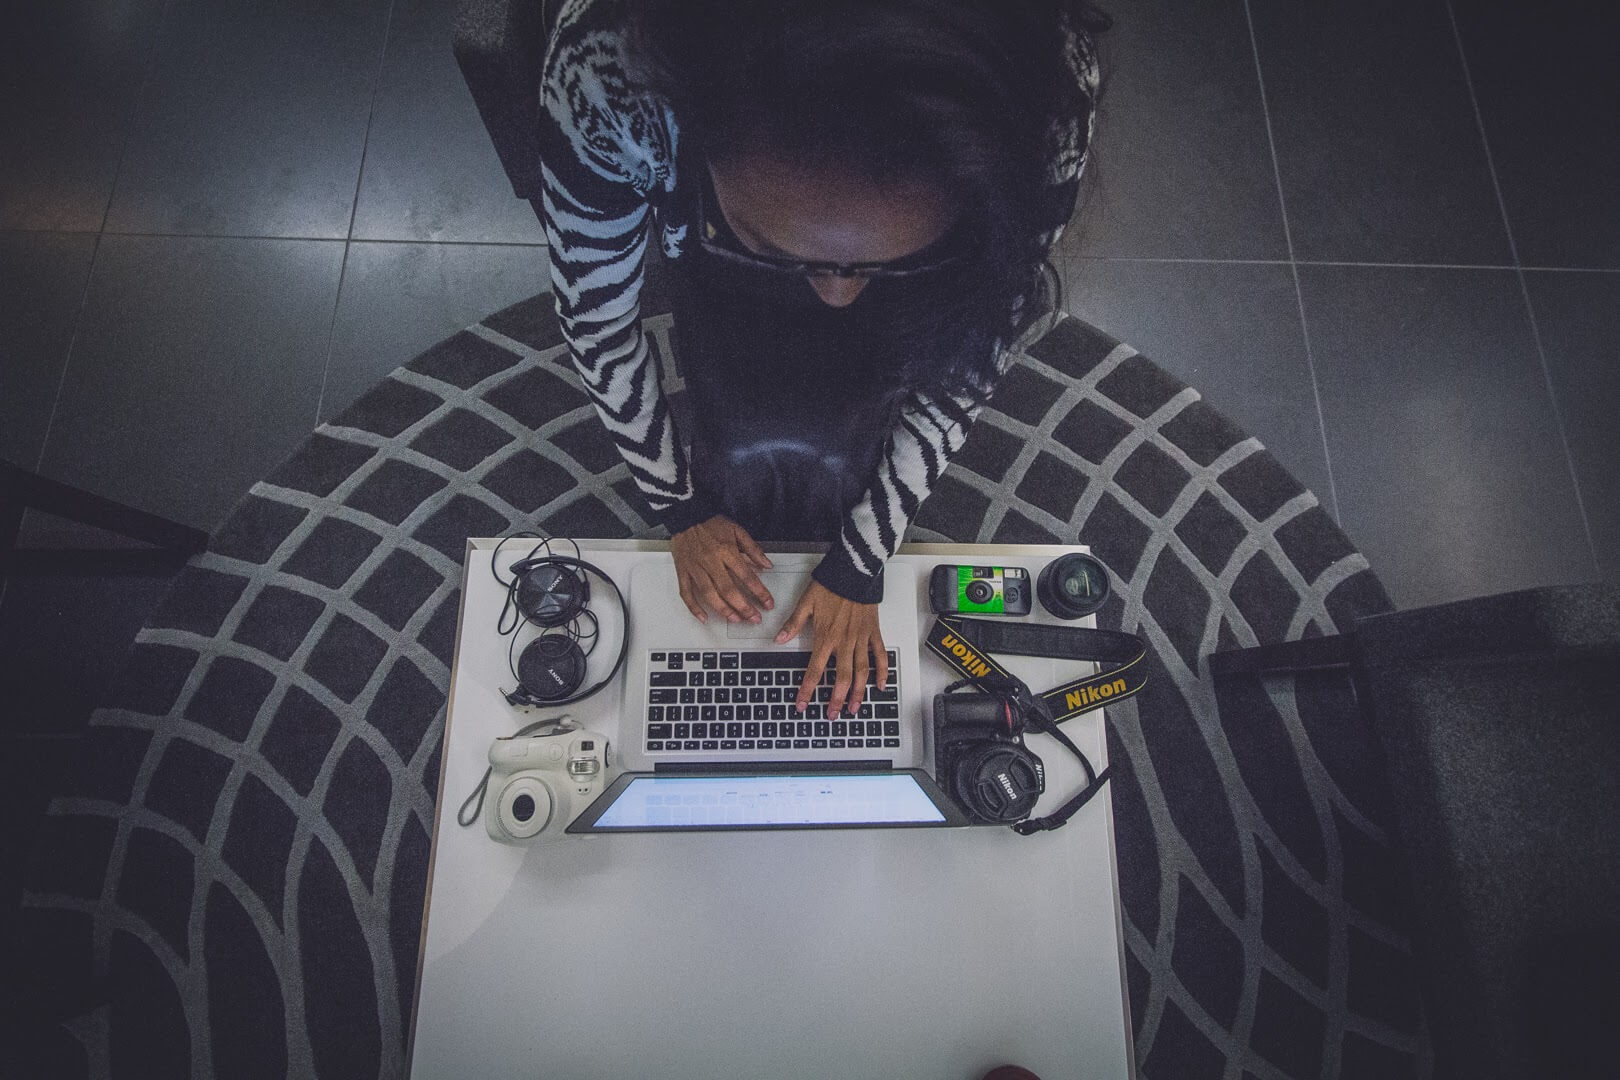
INSPIRATION
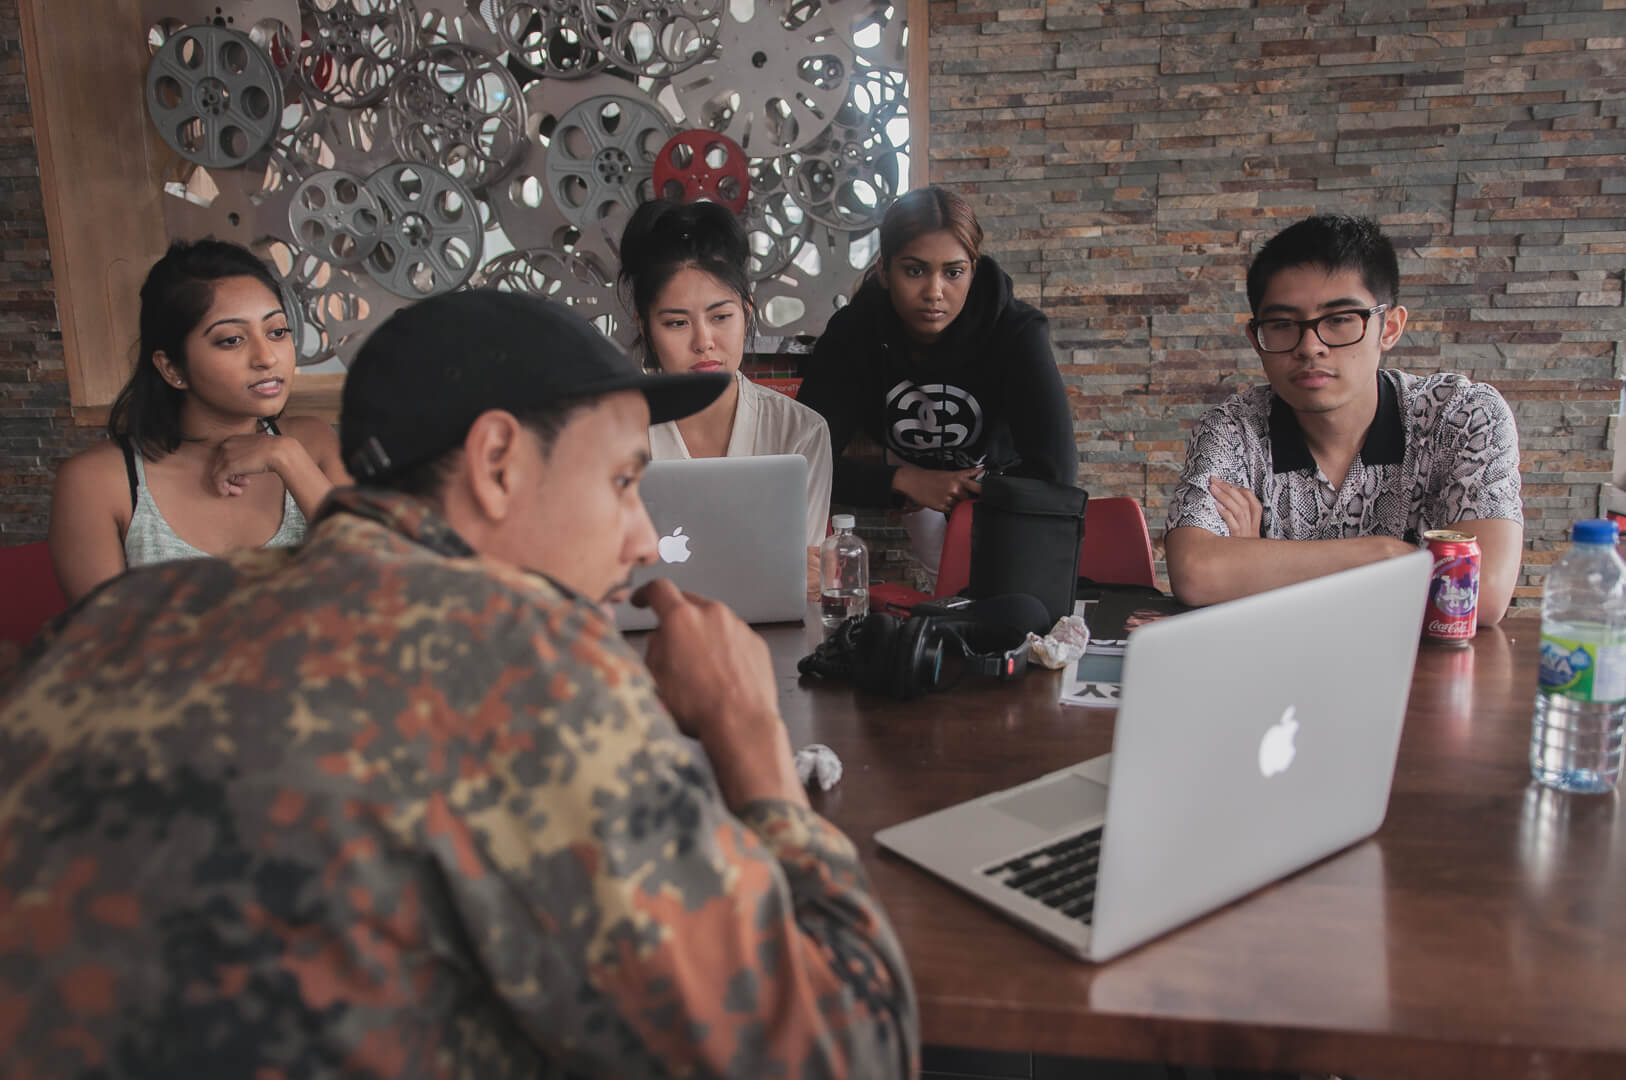
The first stage of pre-production is finding your inspiration. To even consider stepping into a filmmaking project you must have had some inspirational spark prior, but now how do you develop on that? One of my favourite things to do to stay inspired is to simply find videos created by brands I look up to. If they create content with an aesthetic that catches my attention I’ll watch for why they made me feel a certain way. From here I enjoy creating a small moodboard with pictures, videos, music, graphics, etc. Basically anything that gives me the feeling I’m going for with the upcoming project. Another great way to stay inspired is to talk to the people around you, find some friends that might be interested in what your creating and see what they have to say about the topic, you might be suprised by some of their views and decide to incorporate it into your own work.
MESSAGE
The message is important because it’s usually the reason you’re even making the video. Look at the message you want to convey from all angles and avoid any bias you may have. Your previous inspiration will help tell you if your message is important to yourself and your audience can relate. I find that if I can explain the message in one sentence clearly, I’m on the right track. You want to keep your viewers attention by not complicating your main message.
SUBJECTS
Finding clarity in your message will help you decide who your subjects will be for questioning. Even in a documentary, your subjects are your main characters. Find a view differences in opinion between them to keep things interesting. If your doing a documentary related to high school students, maybe find a subject that can look at your topic differently like a teacher or a parent. I like to keep at least 7-10 subjects in mind and rank them based on who I need in my video. I try to narrow it down to about 4-5 for a short video so that there aren’t too many opinions and I can keep things concise.
SETTING
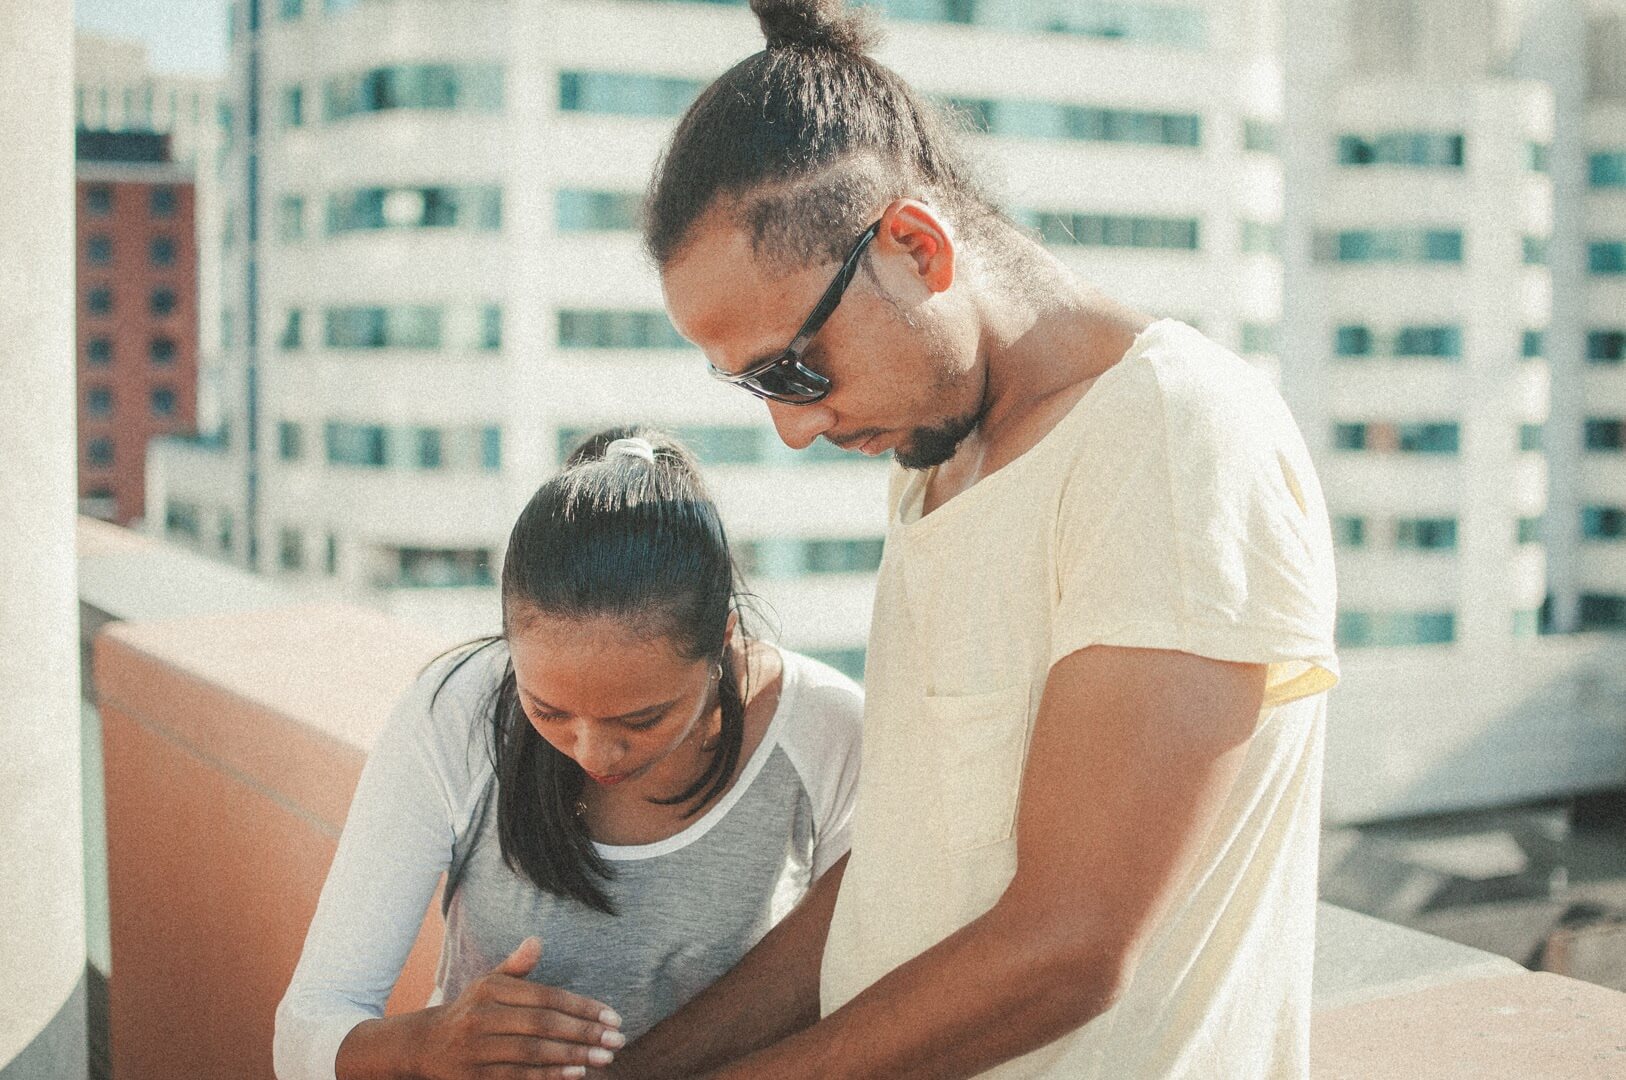
Along with your subjects, your setting will establish the mood. You might decide to film everyone in the same setting for interviews, or you might find a unique spot that suits each of them. With setting you need to always keep the time in mind as well. Do you want to film them in the daytime outside when it’s busy, or maybe at night when it’s calm and little more dark? Think about how your subject will react to their setting as well, this will reflect in their answers.
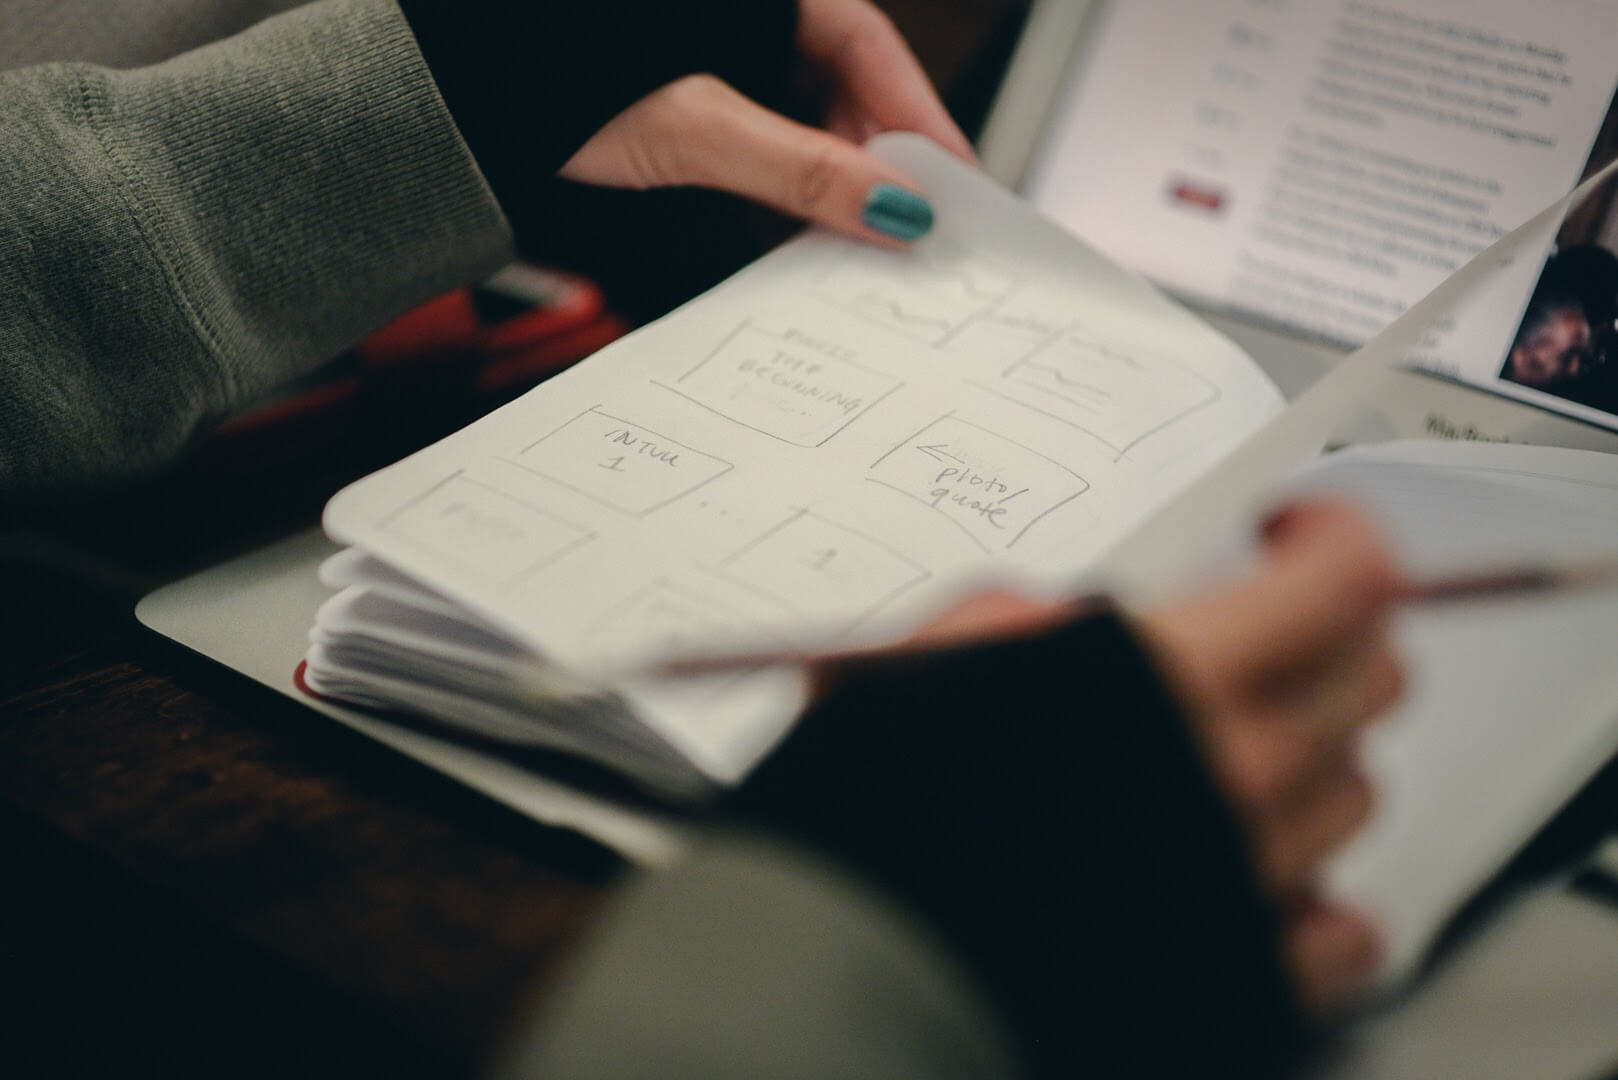
Storyboarding
Storyboarding is very important for you to visualize your project. By drawing out how you’d like to film each scene, it helps you critique your own story, give you a sense of flow, plan accordingly, and help you communicate your idea. You don’t have to be an amazing artist, even by drawing out stick figures as people or basic rectangles as buildings, it will still help you visualize your project as a whole.
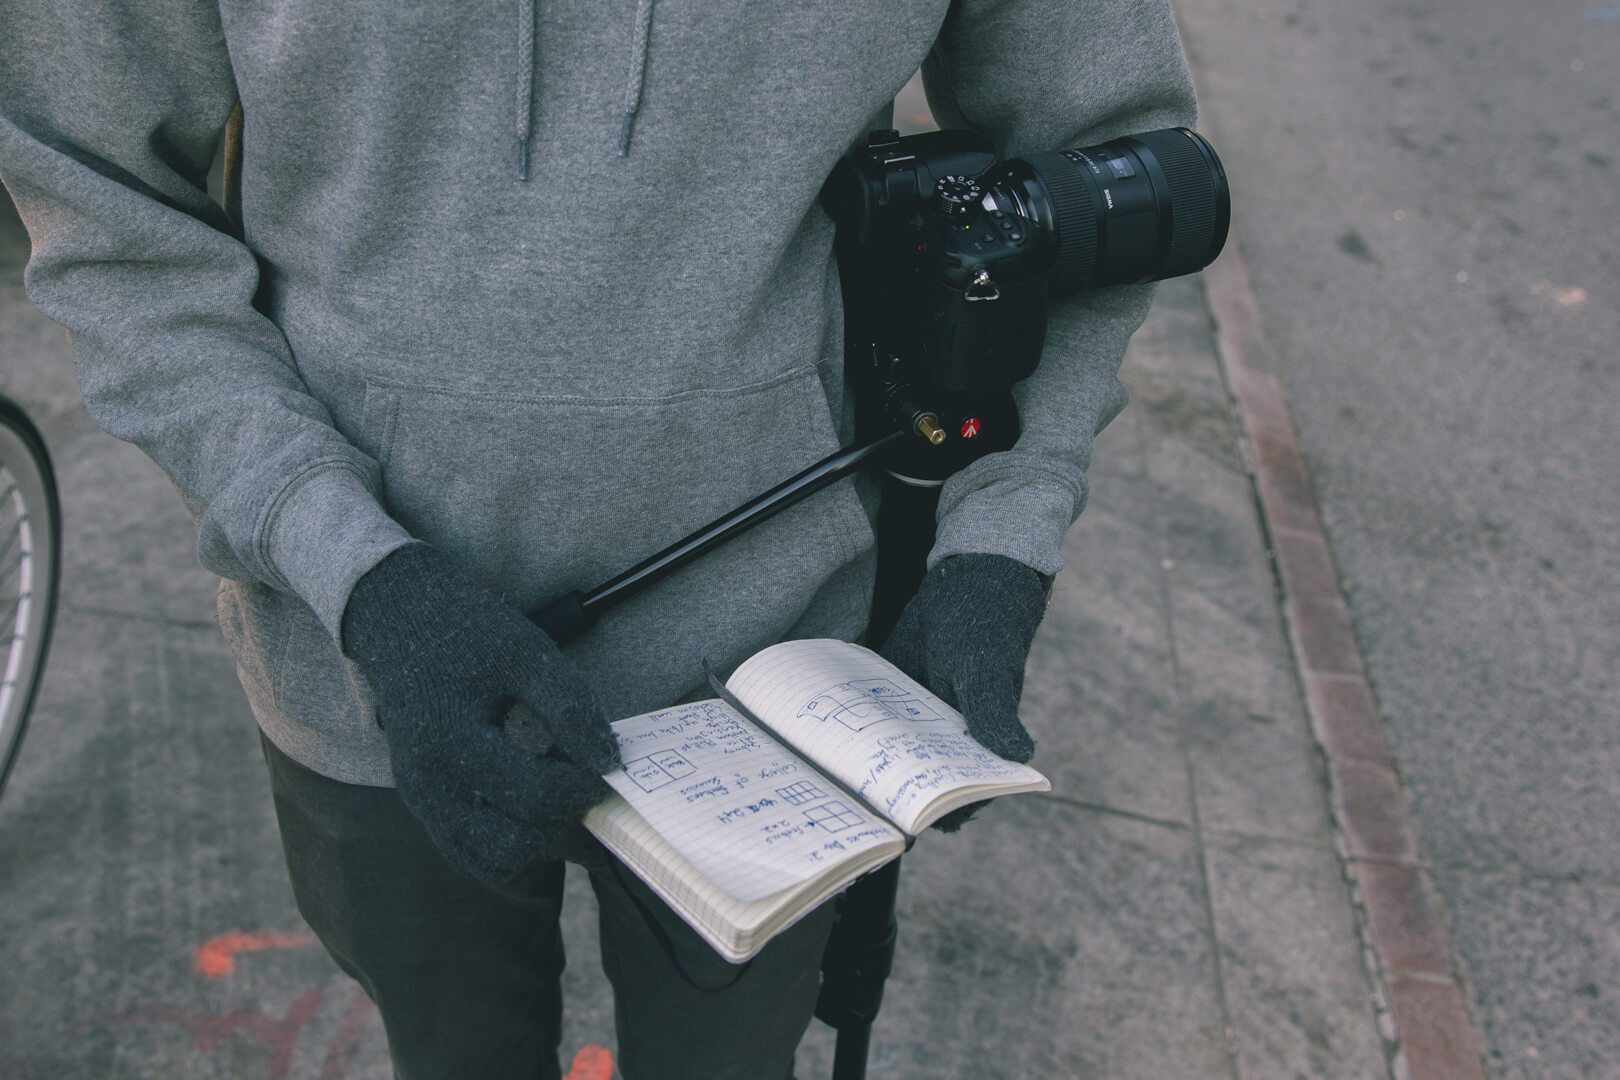
LOGISTICS
These are the details for the shoot you need to know before you jump into production. Have you scheduled your subjects according to plan? What questions will you be asking them? Will anyone be helping you on set for production (ie. audio, scheduling, interviewer, etc.) ? These are some important questions you need to ask yourself so that you are fully prepared. You should also know what equipment you’ll be using for visuals and audio. It doesn’t need to be the most expensive stuff, but you should know how to use it well, even if all your using is a phone, own it with your knowledge.
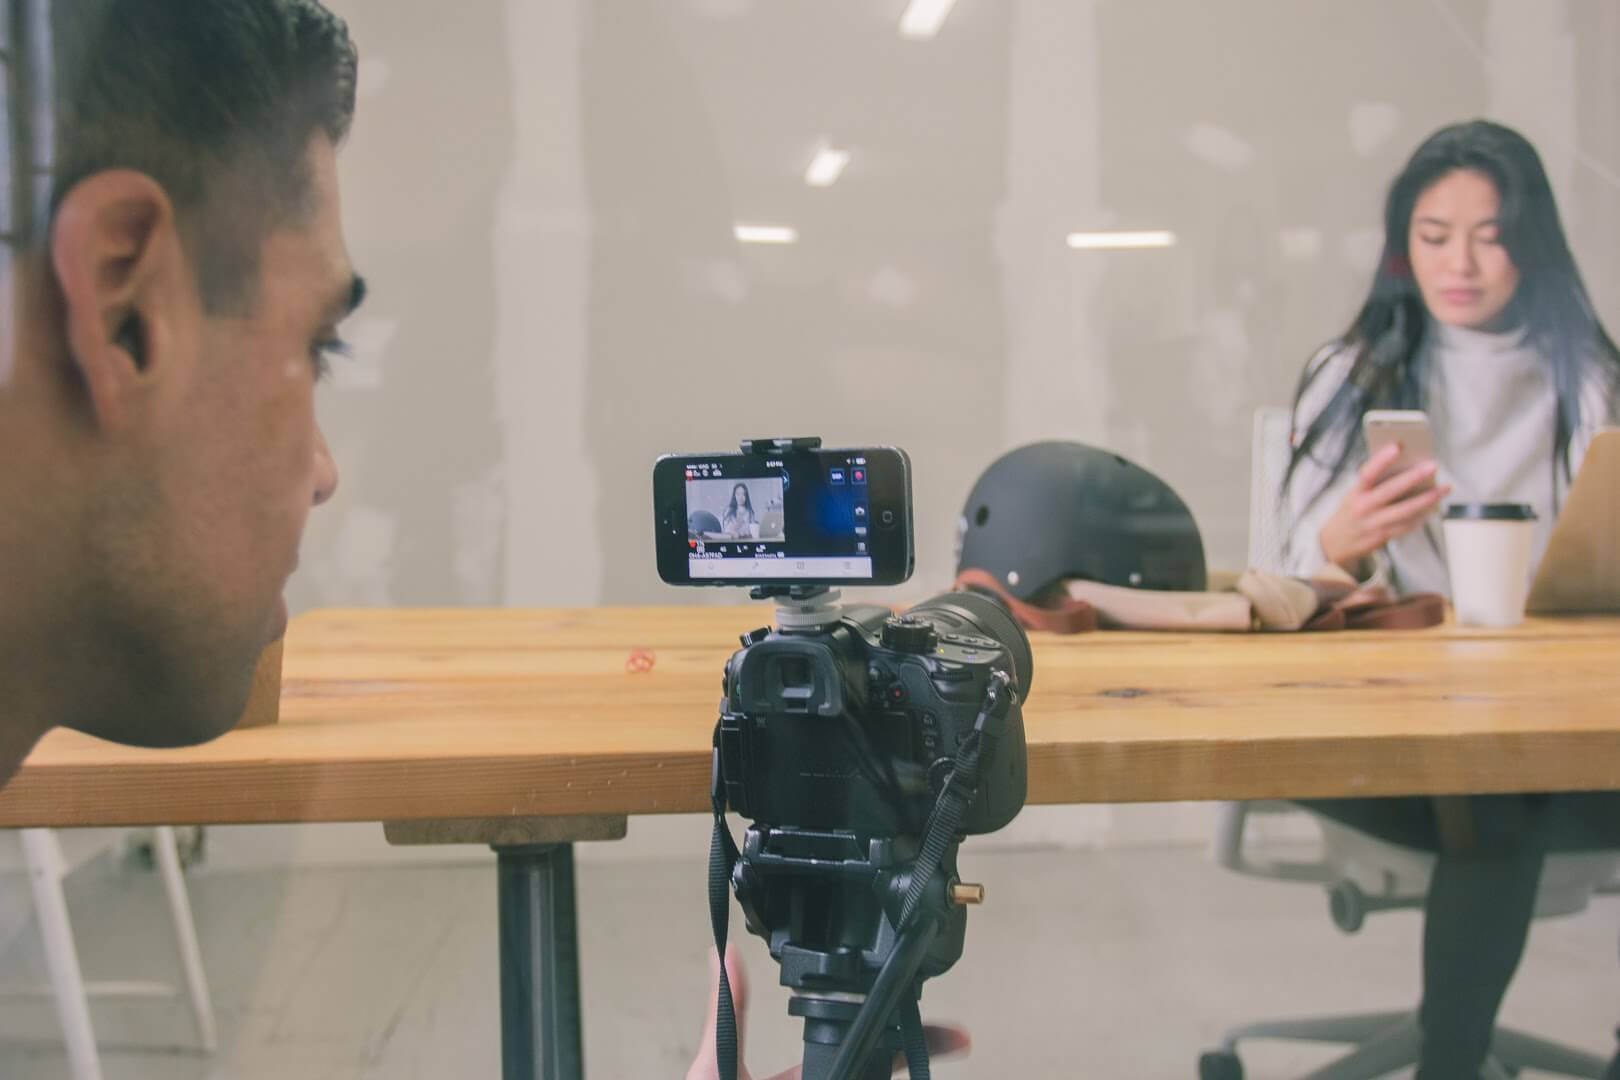
Production
It’s time to film. This is the fun part but also most challenging. Luckily you’ve went through pre-production and prepared yourself to film. There’s a lot to keep in mind while filming besides what you see in the camera. This is where staying organized and focused is key. My favourite part about production is experimenting with new techniques that add to the story, you’ll find that if you keep shooting, you’ll constantly learn new things.
Checklist
Keep a checklist with you while filming, keep it on paper, your phone, anywhere you can easily access it. I like to categorize my checklist based on equipment I’ll need, any questions I’d like to ask subjects, key points of my message that I’m hitting, and a shot list split into ones that I need as well as ones I may think of on set that I’d like to attempt.
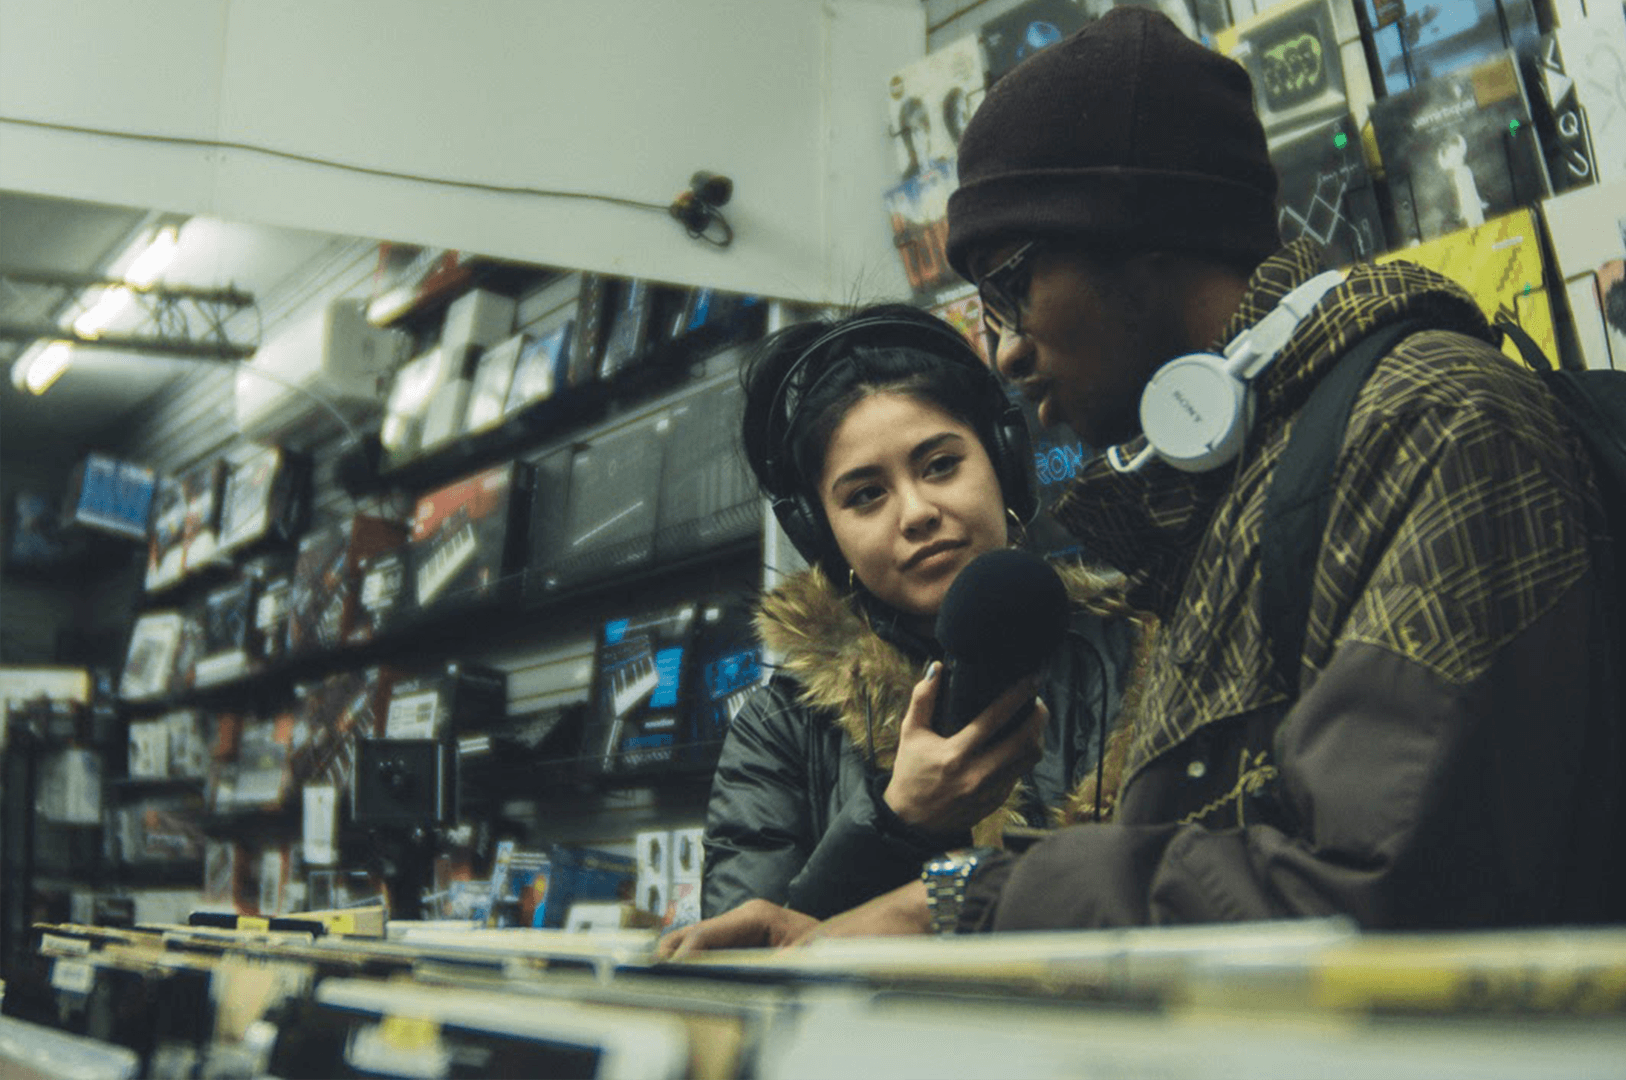
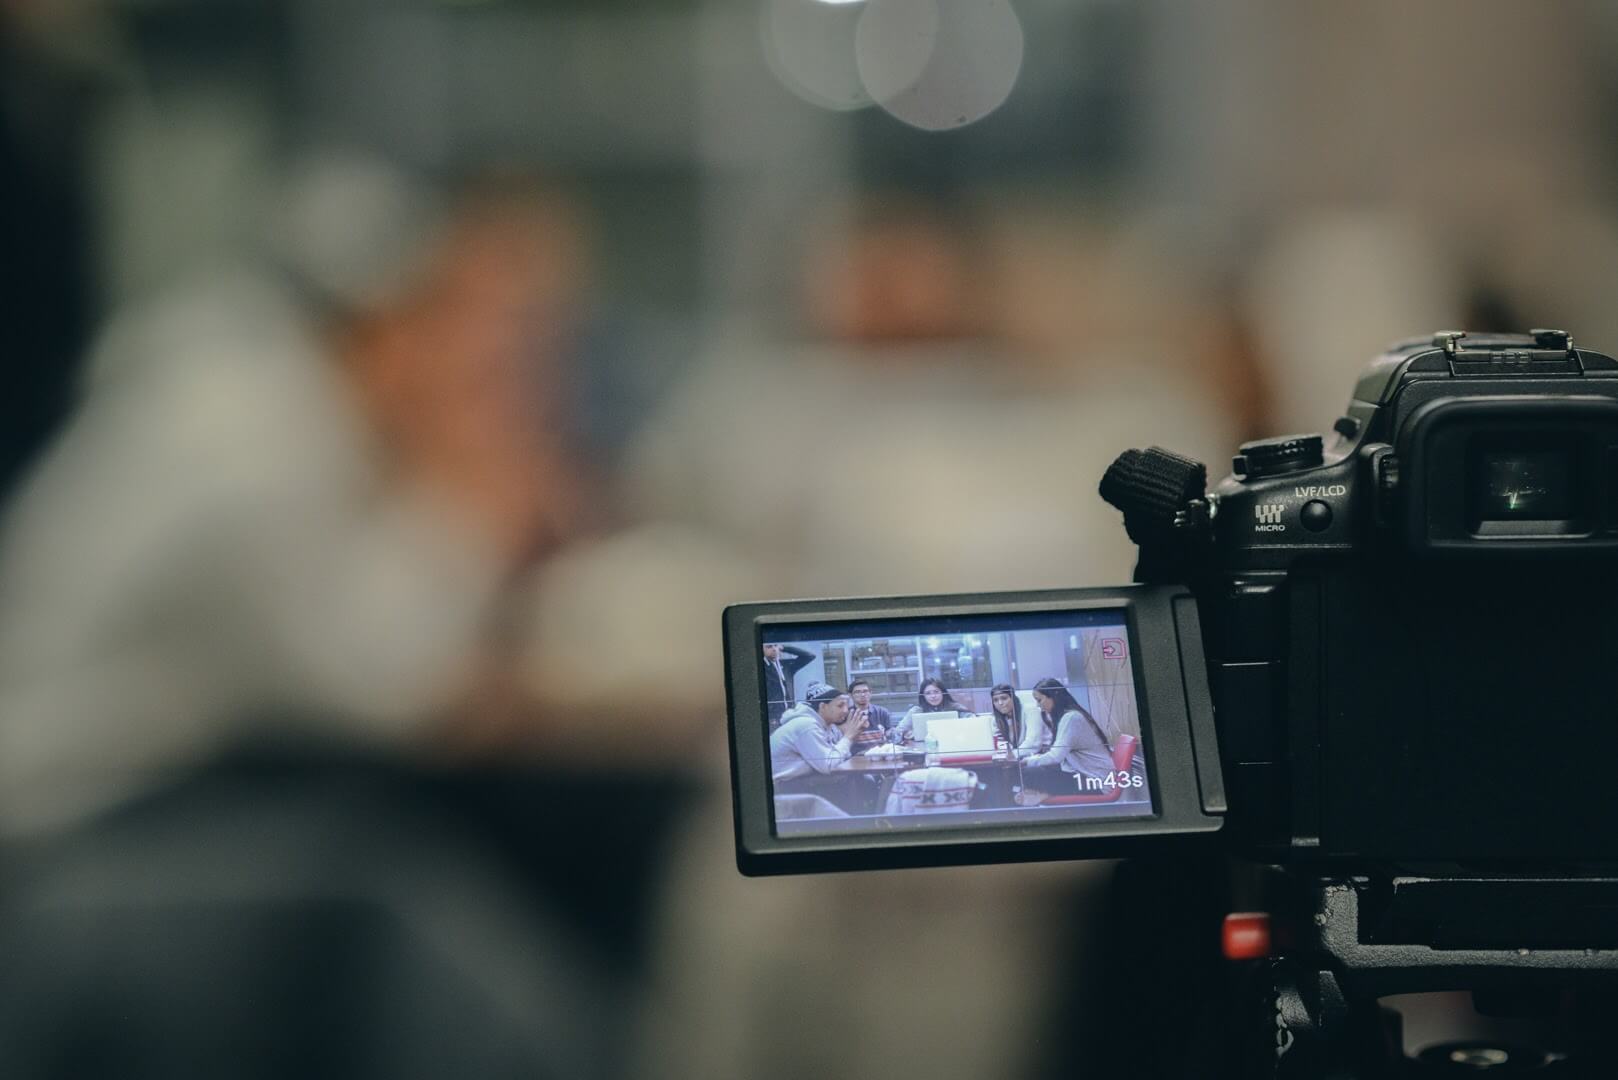
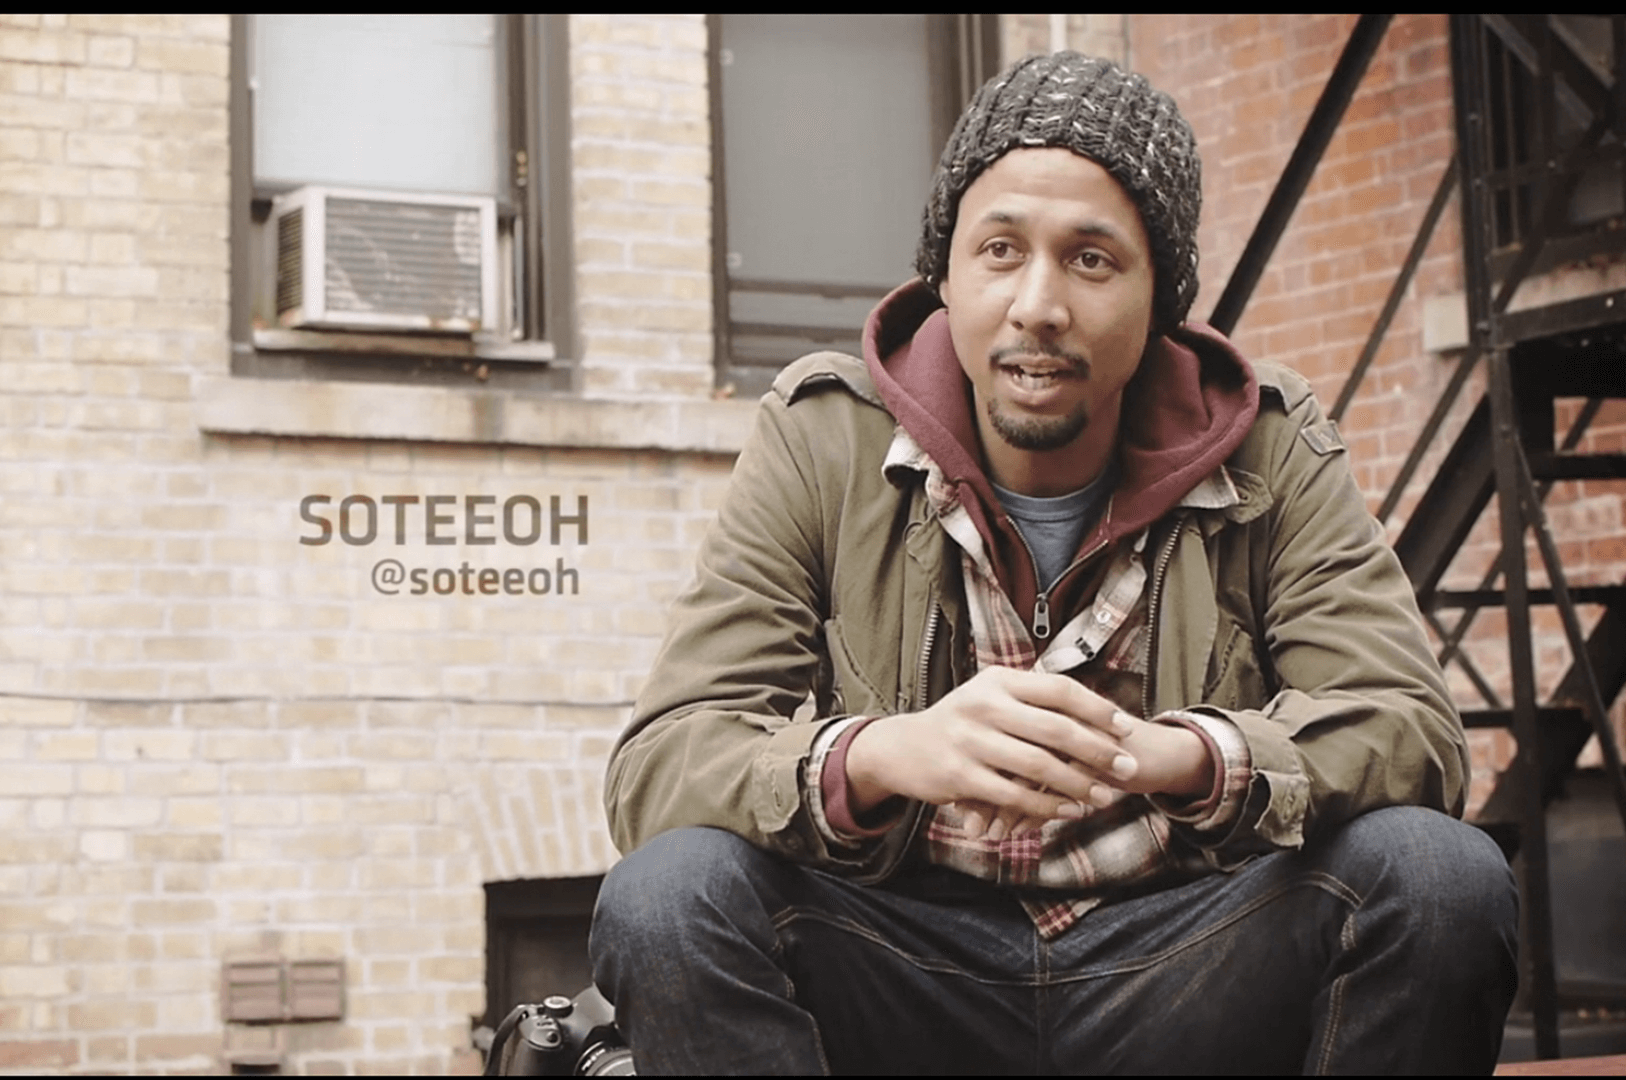
Interviewing
The interviews that you film in your documentary are vital to your overall message. Pay attention to the answers your subjects are giving during an interview. You already have a set of questions written down, but they most likely will say something interesting that relates to your story you can develop further. Look to have a conversation with your subject rather then a typical Q&A session. I find that having a 5-10 minute conversation with your subject before you even start filming helps a lot in getting them to warm up to you and be more open in answering. Display professionalism and help them feel at ease. This makes it easier for them to trust you as a filmmaker and the project they will be seen in.
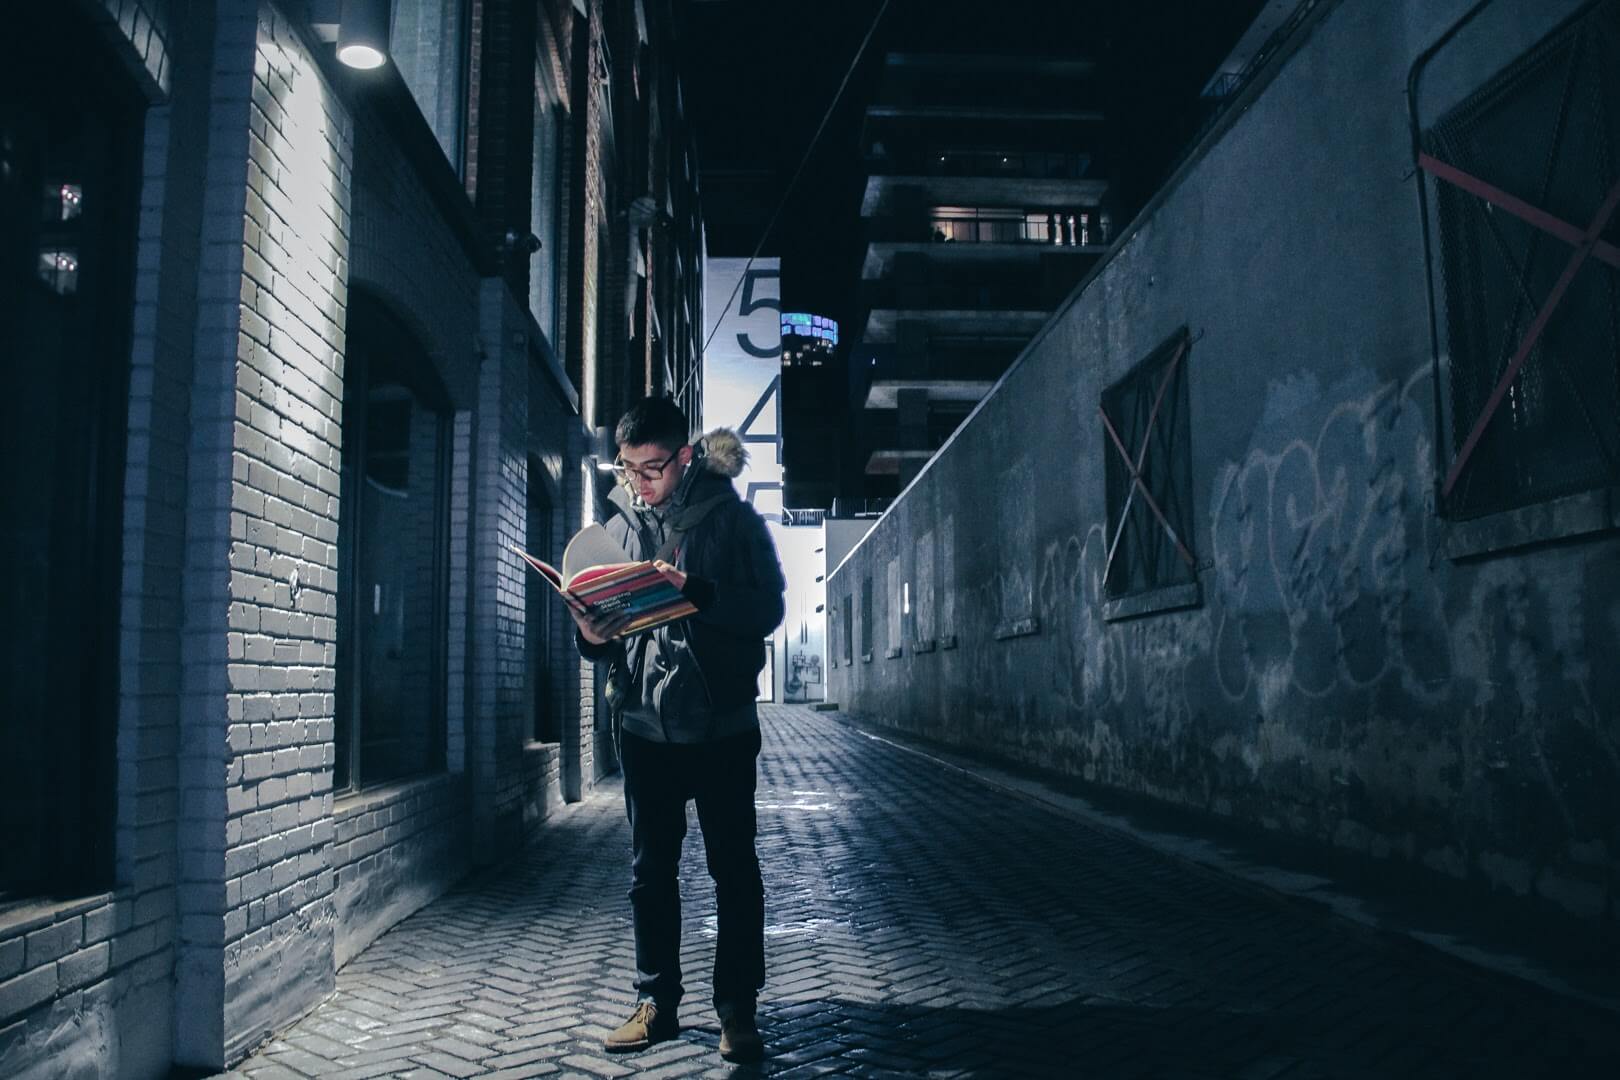
Lighting
Lighting is the most important aspect of your visuals. It will set the mood and have a major emotional impact on the viewer. Whether you decide to film with bright sunlight, use ambient lighting, make use of shadows, or other techniques, it will have an impact on how your viewer reacts to the video. How you decide to light your subject will add to their personality. Think about how you want to use surrounding light. Look back to your favourite scenes in movies or TV shows and try to figure out how they lit the scene. This will help you always keep an eye out for the right light in any setting your in and how to use it to your advantage.

COMPOSITION
How you frame your image is very important to the overall tone. Think about the lens your using or if you have access to multiple types. How do the elements fit into the frame? When filming documentary interviews it’s always great to use the ‘Rule of Thirds.’ This rule is based on an imaginary grid split into nine equal squares when looking at your image. You want to have your subject in an intersection of lines, not in the dead centre. This creates an interesting image where you can see the subject in their setting, as well as leave room for any titles/graphics. Experiment with how you compose your images to find the style that best suits you and your story.

AUDIO
It’s a quote widely used amongst filmmakers, “audio is 50% of the film.” Audio plays a major part in emotional impact. Good sound will give your film a feeling of professionalism. It’s more common to notice bad sound instead of good sound. If your sound is bad, your audience will realize that something is wrong or feel like watching your film requires more effort than needed. Your camera does record audio, but I would always recommend using an external microphone that will record much better.
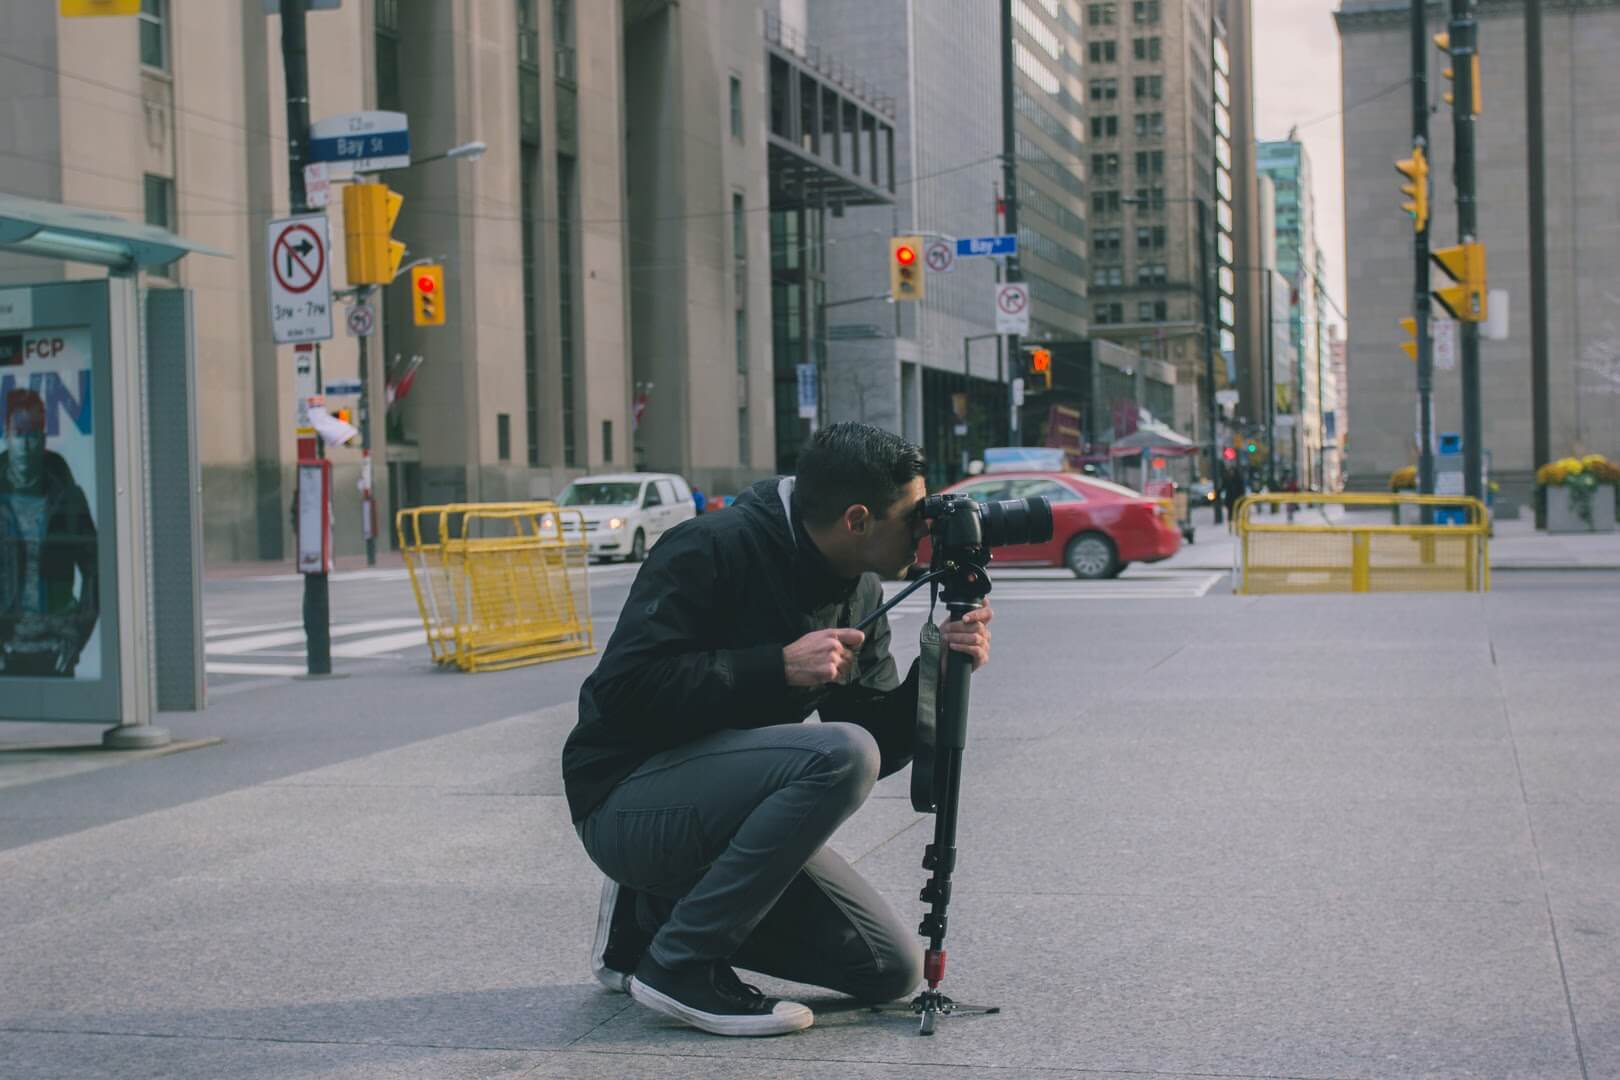
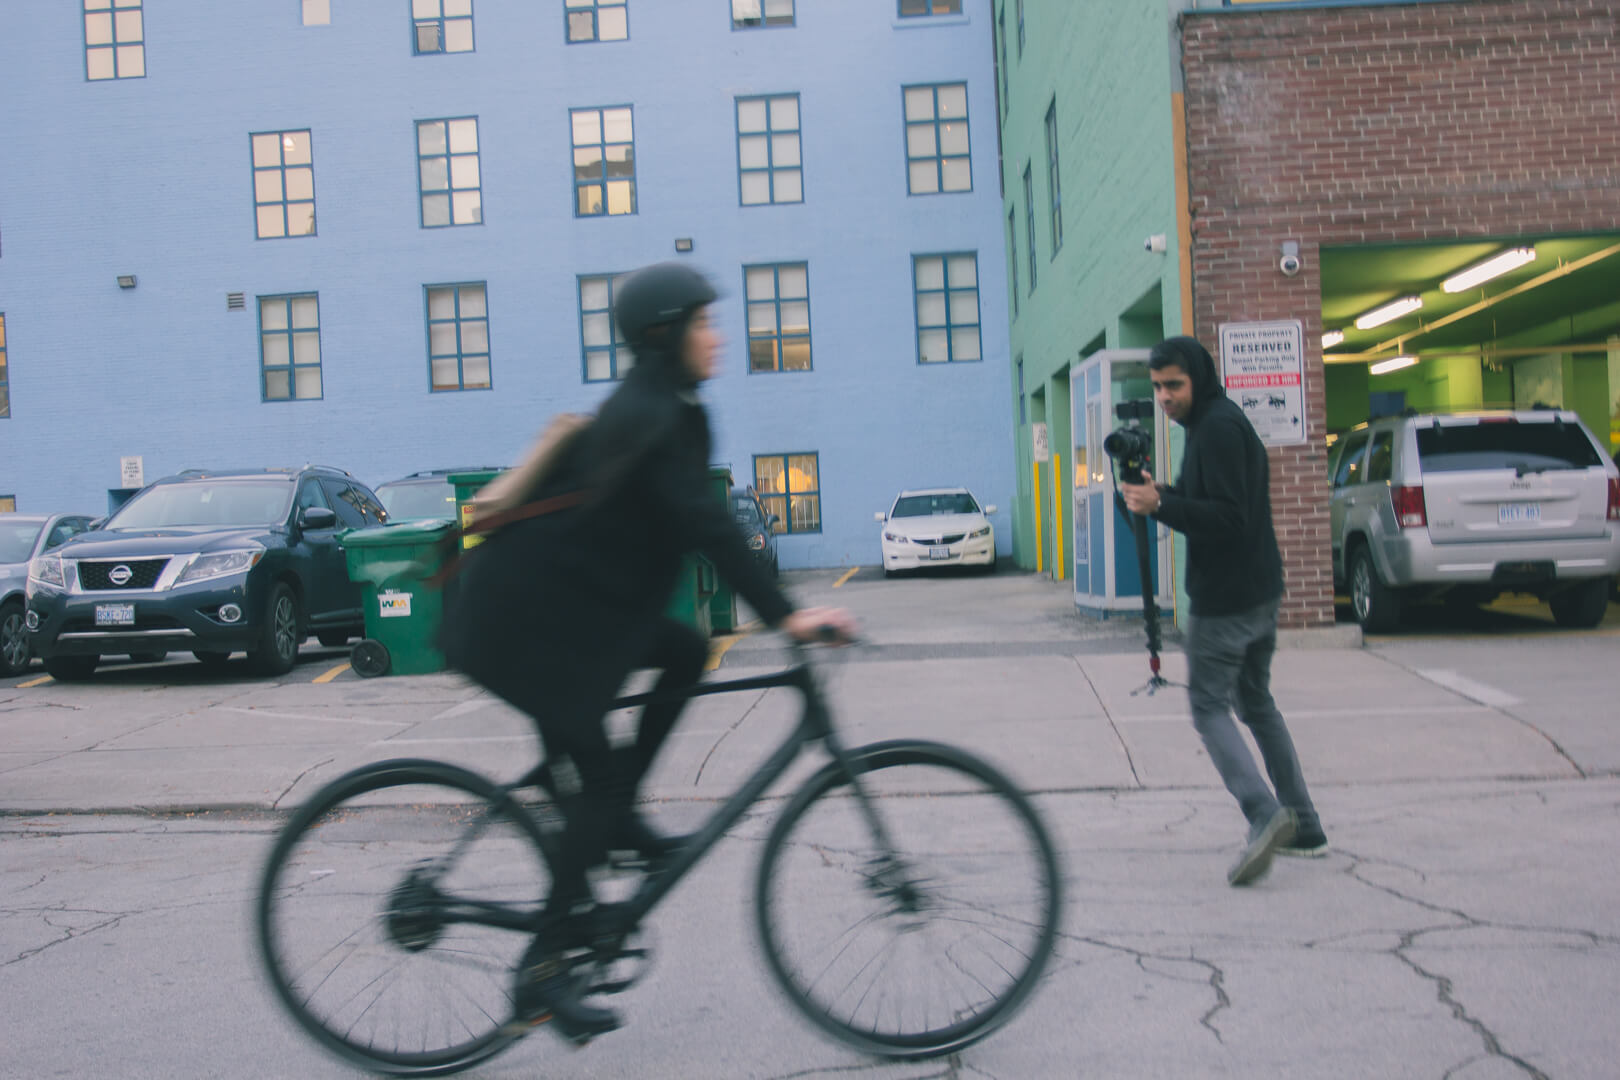
STABILIZATION
Shaky footage makes a film look cheap and rushed. When recording your subjects and b-roll footage try to use a tool like a tripod or monopod. There are more advanced stabilization tools out there, but a basic tripod will help your image out a lot instead of holding the camera with your hands the whole time. Don’t have access to a tripod? Find a ledge or somewhere flat to place the camera while recording and still able to compose a good image. A stable image will go a long way for your project.
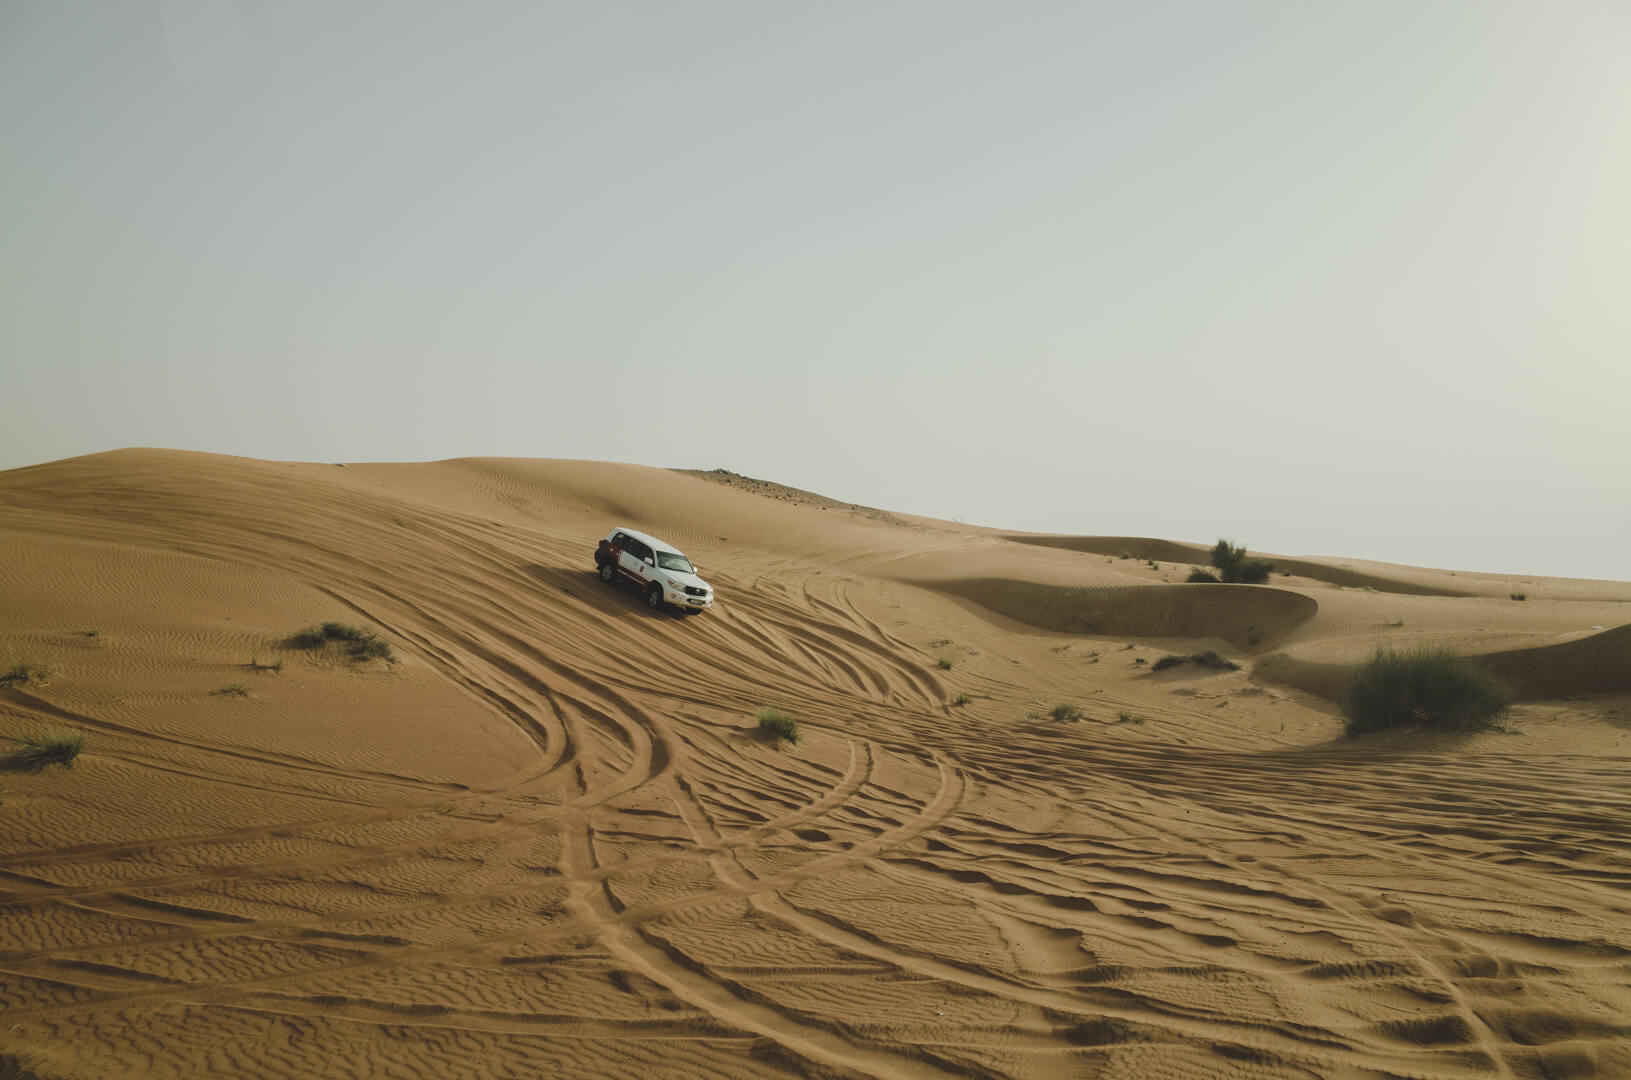
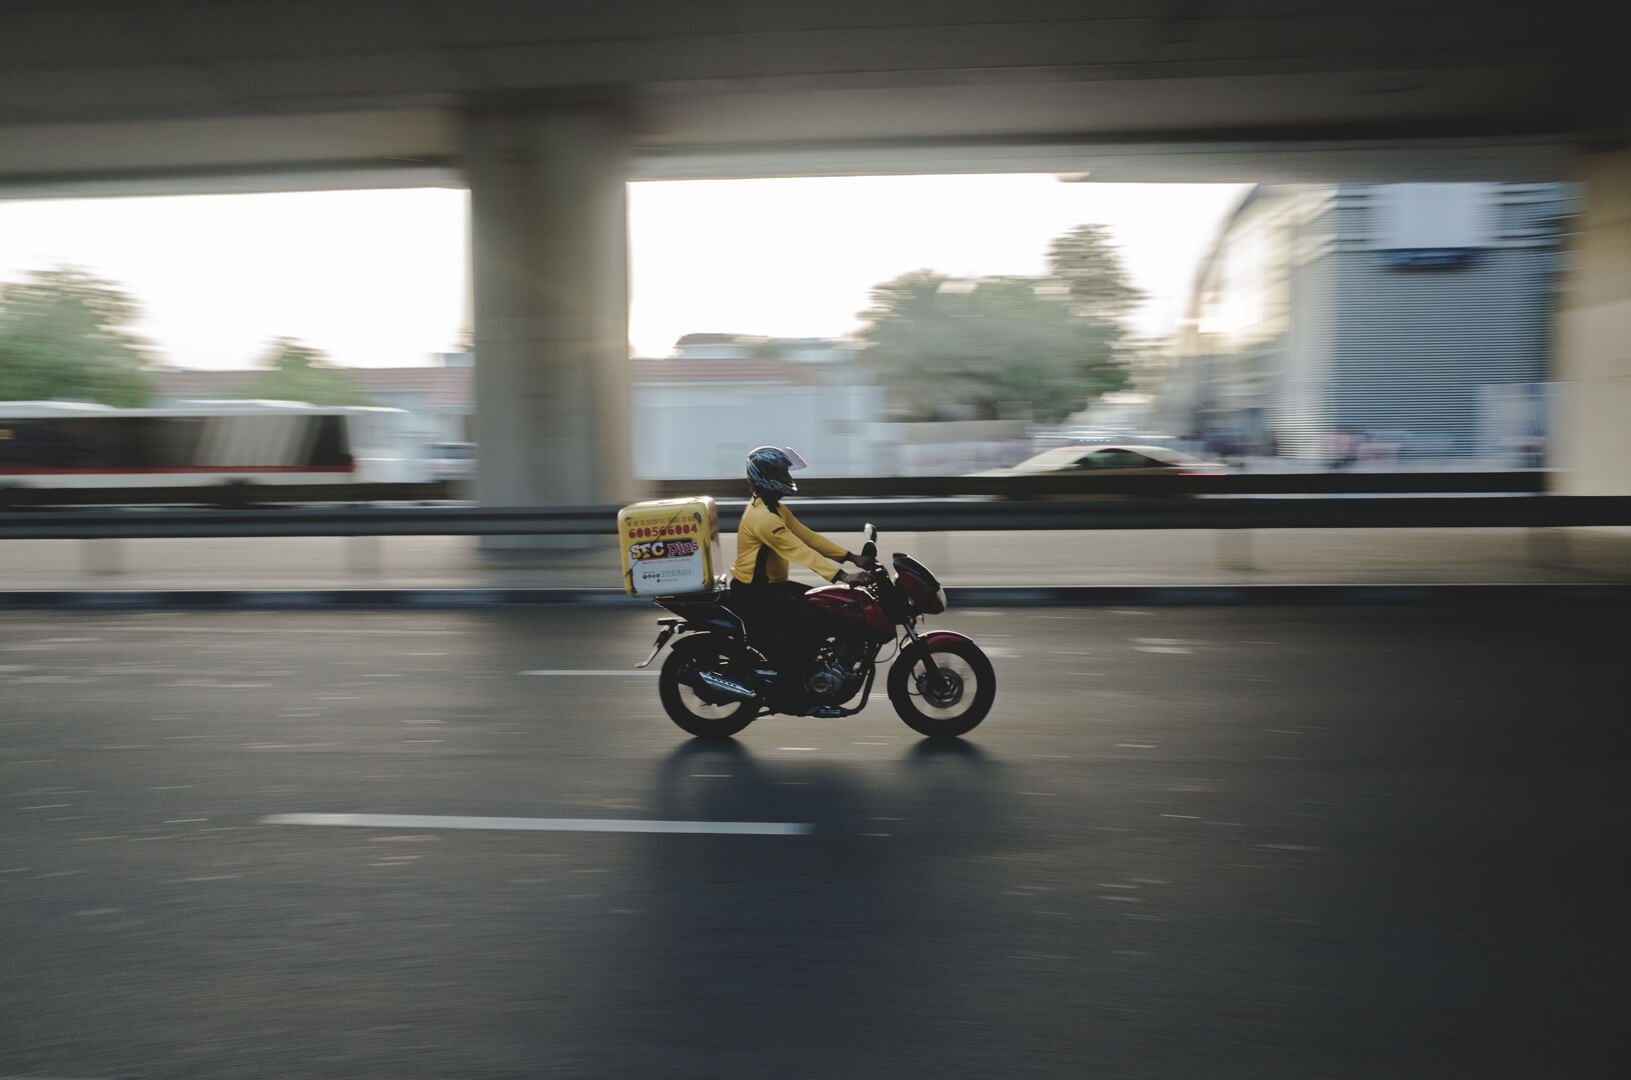
B-ROLL
B-roll is the footage you use to establish your scenes. Whether it’s a wide shot of a city to establish a setting, a shot of a crowd to introduce an event, or even one of your subjects doing an activity, this is all b-roll footage. It’s the footage you use to cutaway from one scene to the next and should be able to tell a story on it’s own. Try to experiment with using voiceovers over b-roll footage and different types of transitions, b-roll footage indicates a lot about your own filmmaking style.
CREATIVITY
Prior planning during pre-produciton keeps you disciplined and on track with your shoot. However, make sure you experiment while filming. Try a different camera angle that comes in mind, experiment with different lighting, bring up different questions to your subject or maybe talk to someone you didn’t originally plan for. There are all sorts of things you can try while filming, take command of your project and make it unique to you while still connecting with your message.
Post-Production
Now that you have all your footage, you need to put it all together into a final product. You already have a vision in your head on what you want to achieve and you’ll come across some things while overviewing your footage that could make your overall vision better. This is where you can go on a variety of paths.
.png)
Organize footage/timeline
The first step is to get all your footage off your SD card(s) and onto a hard drive. I’d recommend using an external harddrive to keep your footage safe and backed up if possible. You’ll then need to import the footage to the video editing program of your choice. I’d recommend creating folders in your editor where you can organize your footage based on your subjects, and b-roll, it will save you a lot of time when looking for a specific clip.
REFER TO PRE-PRODUCTION
Refer to your original inspiration and message in pre-production. You’ll have to cut some footage that doesn’t connect with your message. Make sure your edit is clear and consice in telling the right story and remember why you are making the film in the first place.
.png)
MUSIC
Music will create a sense of emotion and guide the viewer in reacting a certain way. Chose music that adds to the ambience of the film and helps tell the story, I prefer to use instrumentals that sound cinematic with changes throughout the track that indicate key moments. Don’t only chose the music you listen to every day, keep an open mind and figure out what kind of music best suits your project. It can help establish a setting, or how your audience views your subject.
COLOur
Colour grading is a more advanced topic but is something great to experiment with in the beginning. It adds a finishing touch to your overall image and gives it a mood. You can warm up an image or cool it down based on the emotion your trying to evoke. Make sure to look into things like brightness, contrast, and colour balance in your editing program. It will add a professional quality to visuals of your project and help it stand out in your portfolio.
TITLES/GRAPHICS
When editing, keep in mind where you will place any titles like the title card of your project or the names of your subjects. Refer to some of your favourite documentaries to get a sense of where to place these. It’s common to place the name of your subject in the lower corner away from your subject, but experiment with this to create the right composition for you.

LENGTH
Determine the length of your project and cut your scenes accordingly. Don’t drag out interviews for too long, make sure you hit the key points in conversation that establish the story. Also keep in mind where you will be showing the video, this will help determine the best practices for length. If it’s for YouTube or a social media network, you may want to create something shorter.
CREATIVE TECHNIQUES
Experiment with different techniques while editing. I like to experiment with different types of transitions from scenes, and slow motion. You can add a lot of cinema quality effects with video editing programs these days. Dig deep and find out what works for you without overdoing it. Always make sure it goes with the pace of your film and only use technques that assist with the telling of your story.
PROMOTION
Once you’ve finished editing your video and are happy with it, you’ll need to distribute the video to be seen. Decide if you want to only show the video to a select amount of people or if you want to show it to as many people as possible. Think about where you’ve seen videos and how they got your attention. Now come up with a plan of your own to tell your story with this project.
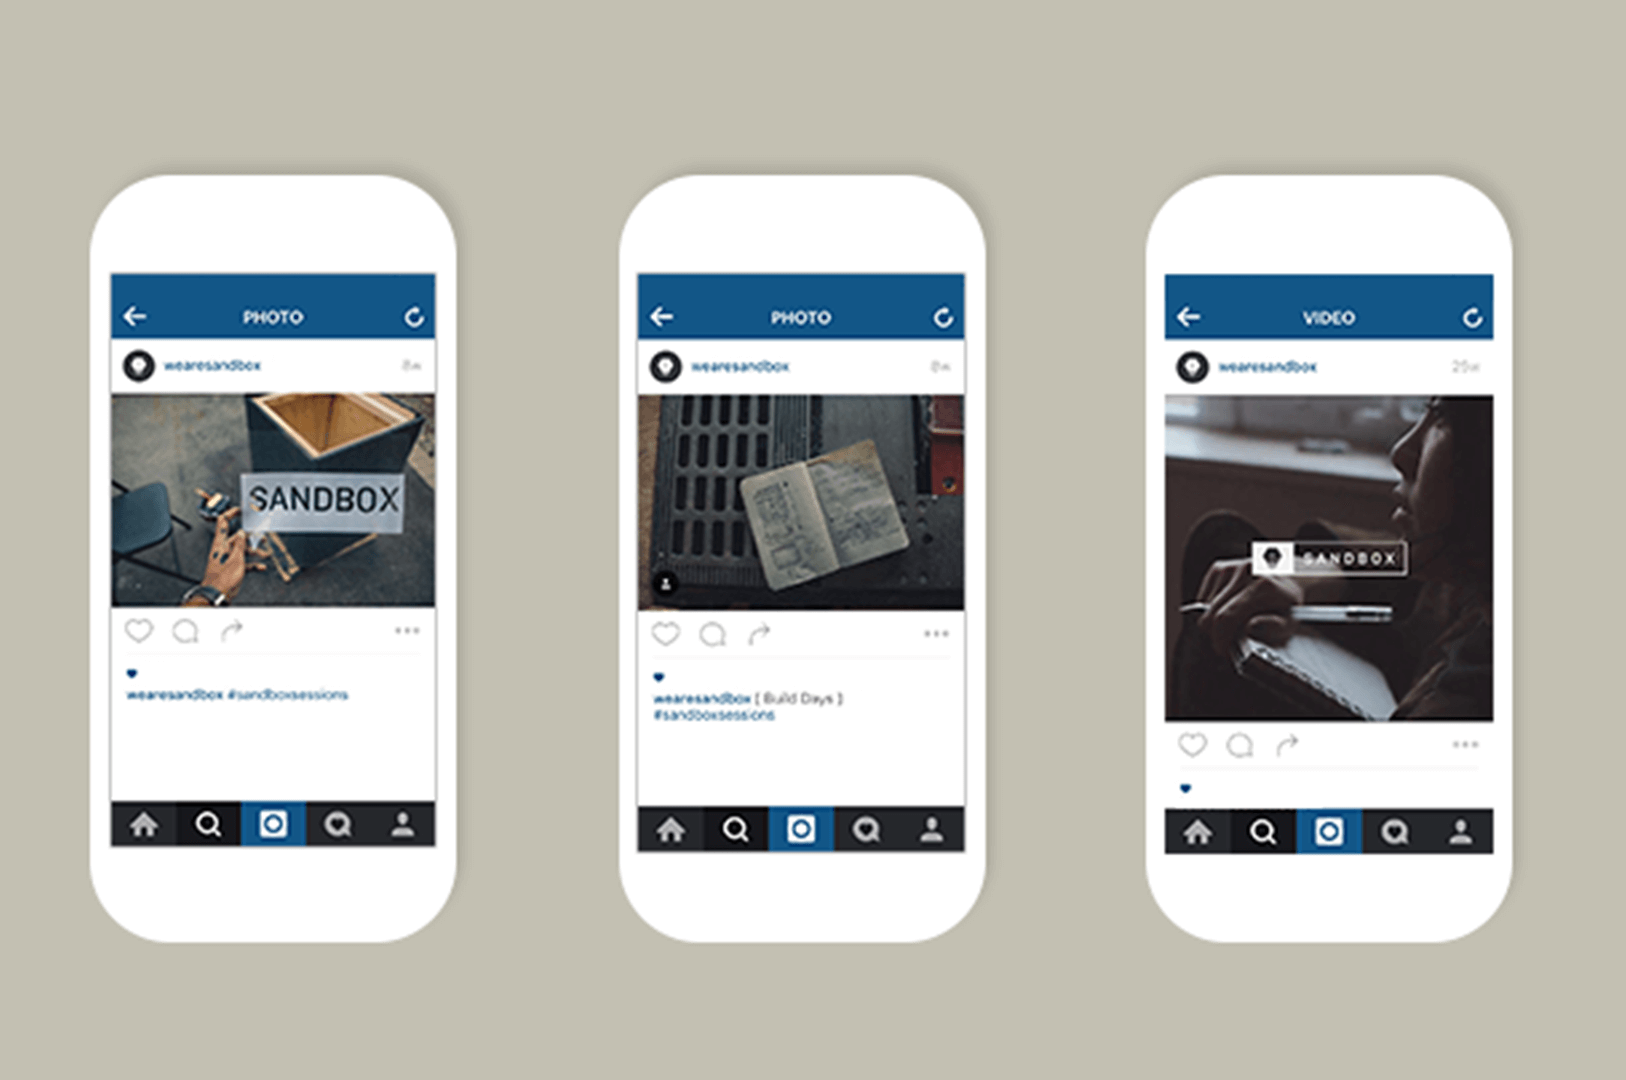
SOCIAL MEDIA
My most valuable toolset for promoting my work currently is through social media. That means using Facebook, Instagram, Twitter, Snapchat, etc. Understand each platform and experiment with what works. I like to make a cut of my video based on each platform and the length of video that they allow. Think of it as making some mini movie trailer’s. Some may even allow you to post the full video. These are great places to get quick feedback from your friends and family. Ask some people who enjoy your project to share your video as well so that you can get the attention of an audience outside your immediate circle.
VIDEO CHANNELS
YouTube and Vimeo are great platforms to host your video. YouTube is the most common video platform online that people are familiar with and will allow you to be discovered easily. You can even develop your project into a series and gain subscribers. Vimeo is a great network for hosting your video and being seen amongst a professional filmmaker community. It’s a great resource to learn new filmmaking techniques and receive feedback from other filmmakers.

Show it to your subjects
This is up to you, but I like to show my work to my subjects in the video before I send it out publicly. It helps me gain feedback from them before I send it out and elminates any issues they may have with how they were portrayed once it’s sent out. By giving them a chance to see the project they may be excited to be seen in it and share it on your behalf as well which will only help in building your audience.
friends and family
Similar to showing it to your video subjects. Show it to your friends and family in person as well. It will help you gain honest feeback and also help with sharing the video to a wider audience.
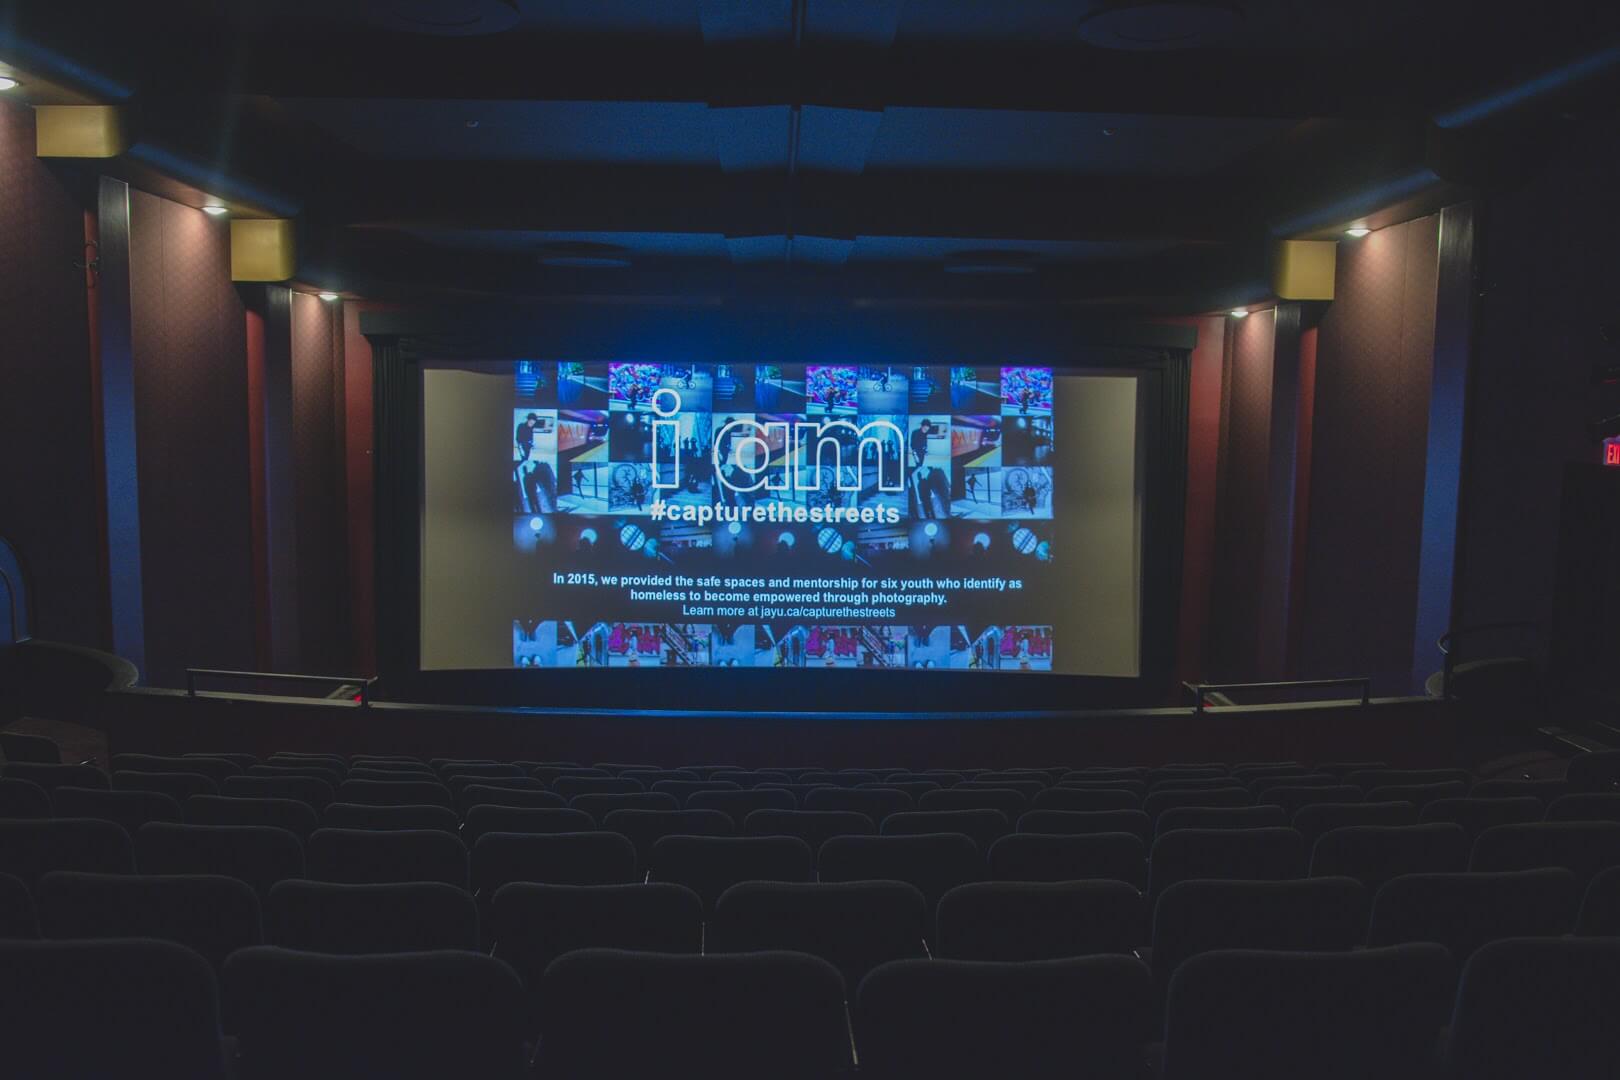
festivals
Look out for film festivals in your city. See if there’s one that matches the theme of your project and submit your film for consideration to be added in a festival lineup. It never hurts to try and it also helps you understand the requirements of festivals. If you are accepted (congrats!) it will help you gain a new audience that will respect your work as a filmmaker. You may even come across a festival theme that could inspire your next project.
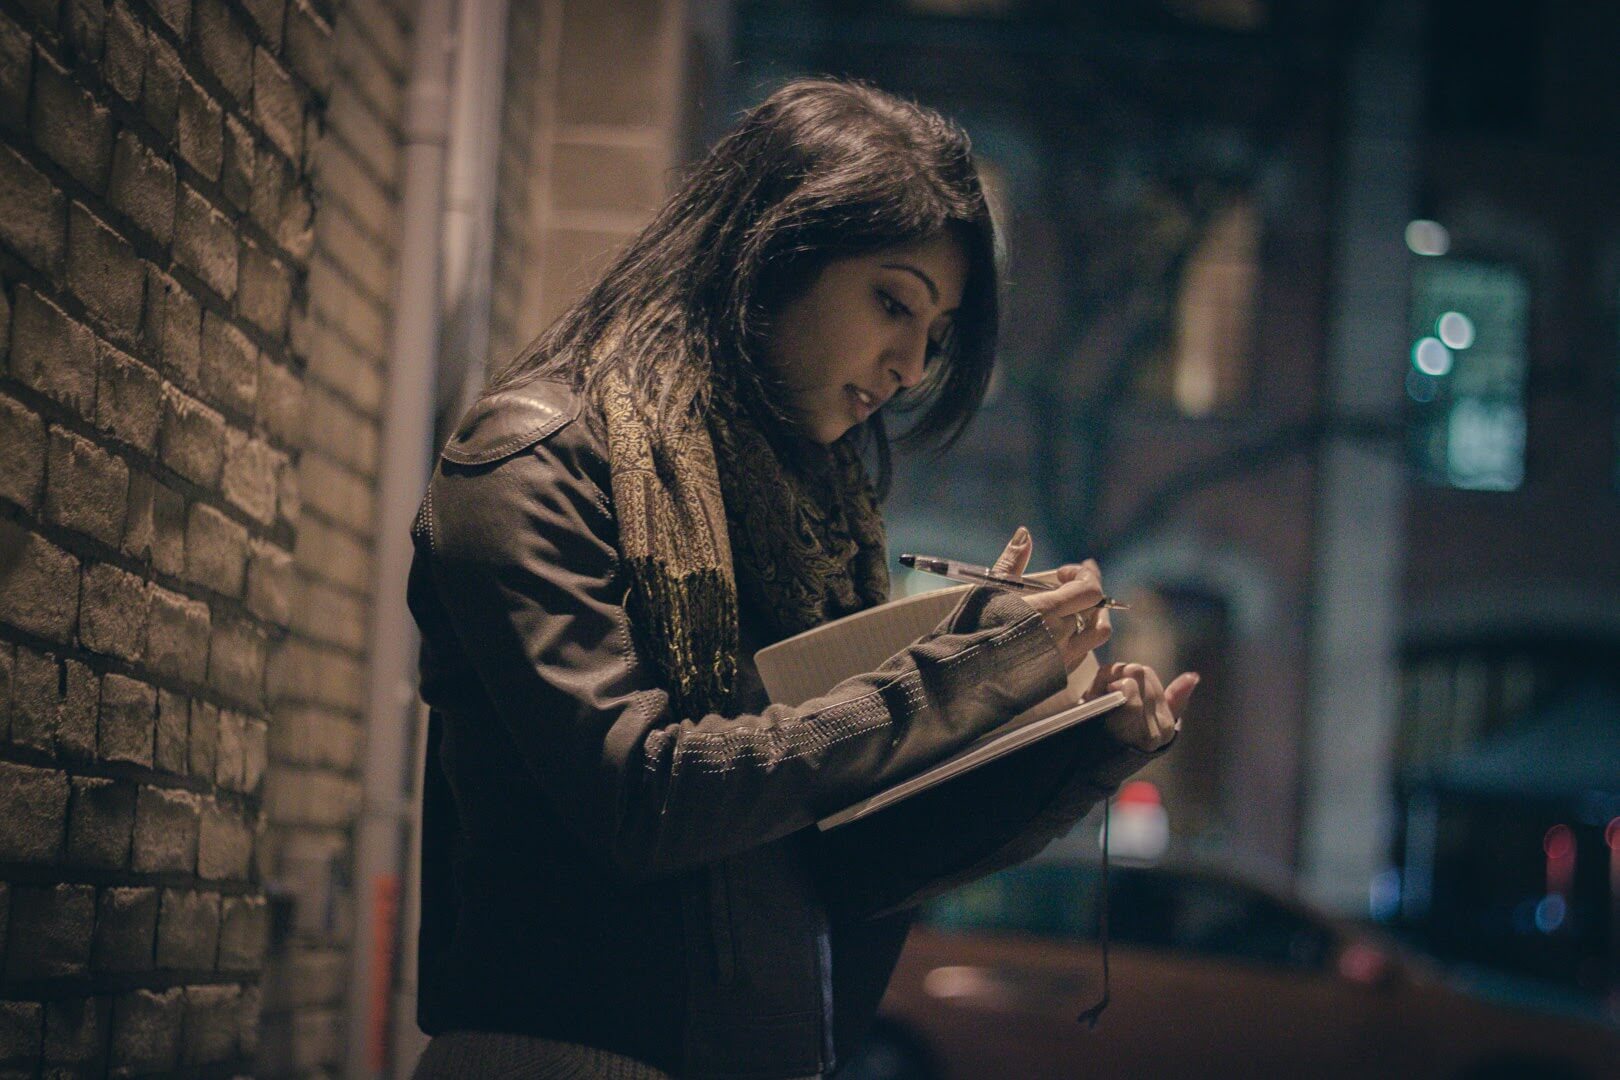
write about it
Writing about the making for your project and/or the message that you are sending through the project will help an audience gain insight into your thought process. You could inspire them to watch your film and think about it further. You could set up a simple blog based on the project that will help people understand your message and learn from your process.

understand trends
Once your project is out in the world, understand how it is being received. Look at the trends around it such as how many people viewed it, and when. Don’t get too attached to stats, as the main thing that matters about your project is your message, but it is always useful to know where trends are developing if you want to get into videography as a career. Stay in tune with your audience.
keep creating
There’s times where people might not see your video right away, but if you keep creating people will revisit your previous work. If you worry more about developing your craft than the stats of your last video, it will show. People will notice the quality of your work developing which will lead to an audience that connects with your style and the message you are trying to send. If you have something to say, don’t stop creating.